
It’s important to understand how your boats engine works to keep it safe during operation. One of the biggest things to know is it uses water to stay cool, similar to a vehicles cooling system. The major difference between a boat and a vehicle is most boats pump the water it is submerged in from its outboard and through the engine. Some boats do have isolated cooling systems, but the sea water is still pumped into part of the system and through a heat exchanger instead of running through the engine.
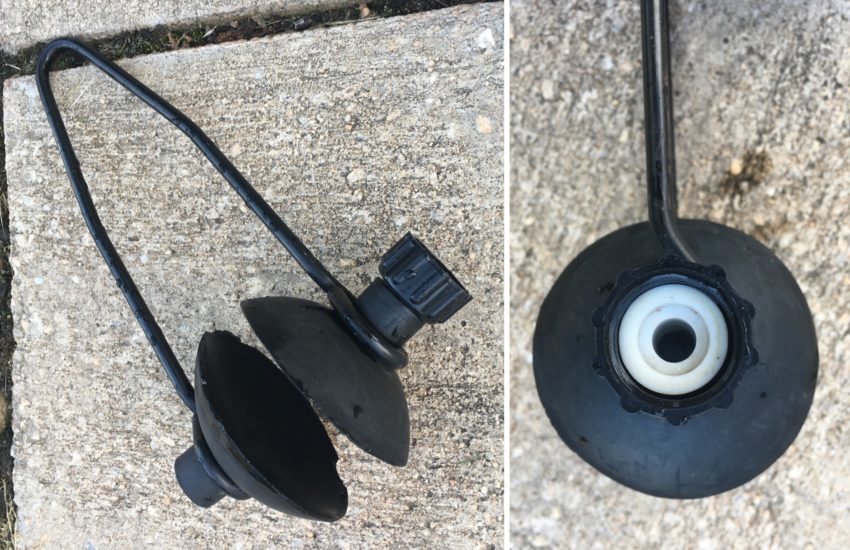
Regardless of the style cooling system your boat has, it’s important to know that the outboard either needs to be submerged in the water while running, or needs to be fitted with a supply of water if on land or out of the water. If your boat is currently out of the water, the typical and most universal way of supplying water to it is by using a water flusher, otherwise known as “muffs” or “ear muffs”. These muffs can be seen below.
Types of Engine Flushers
There are a few different styles of muffs you can fit on your boats outboard. The differences are fairly subtle, but we wanted to list them to make readers aware of the different options. Read on below to see the different options offered.
Basic Style
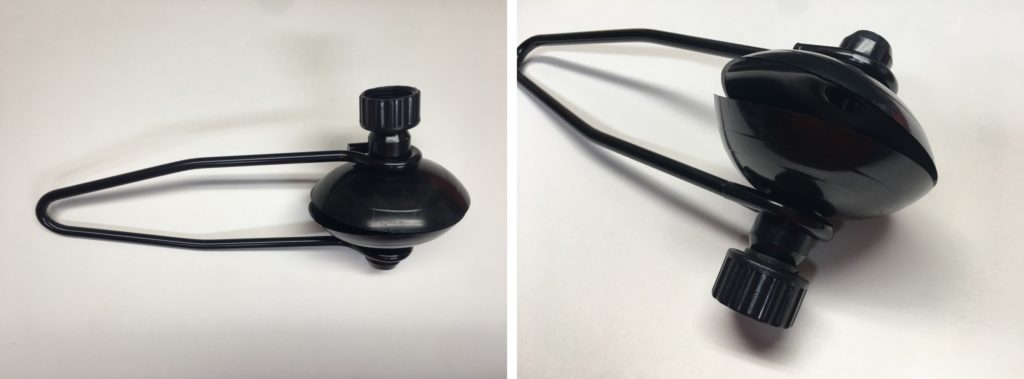
The basic style set of outboard muffs simply has a hose connection on one of the cups, and a cup on the back side that has no water flow and only holds the water in the water intake. On the intake holes for the water on an outboard, either side can be used to feed water as they are connected and feed water to the same passage to the intake water pump. Therefore, only one cup needs a water supply while the other keeps any extra water from exiting the water intake passage.
Dual Flow Style
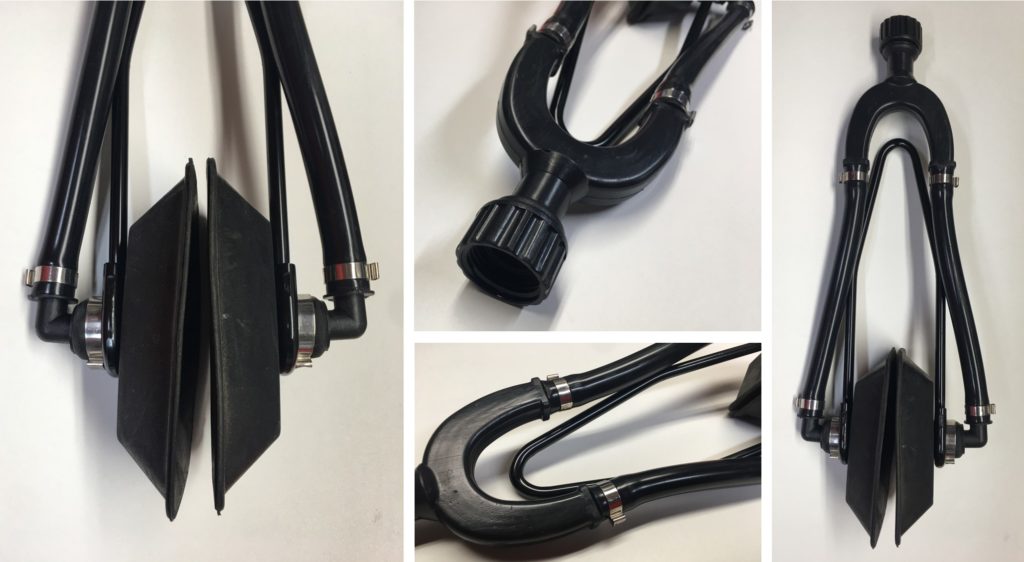
Another style of muffs that are available is a dual flow option that supplies water to both sets of intake holes on the outboard. While the basic style will get the job done, this style is closer to how the system will run in actual operation with water being fed to both sets of intake holes on the outboard. The water is simply supplied to a T-fitting and split to feed both cups on the flusher.
Large Style
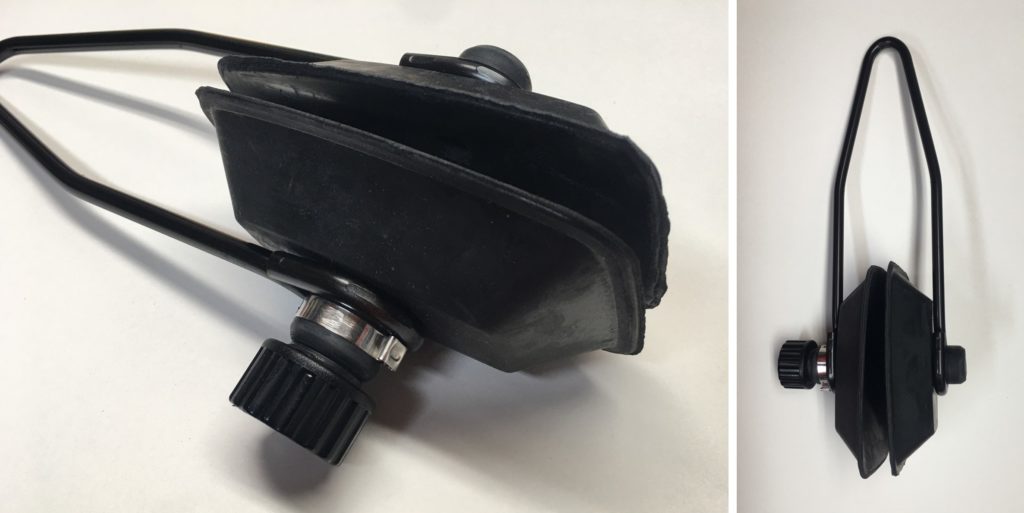
The final style of muffs on the market are a set that have larger cups for outboards that have sets of intake ports that are spread further apart. These are fed from a single side similar to how the basic set is fed but will still deliver enough water to ensure your outboard stays at proper operating temperatures.
How to Run Your Boat Out of Water
Below we’ve given a brief procedure on how to properly install a set of muffs on a boats outboard. It’s important to take care when installing and running motor flushers on your boat as the engine can be damaged if it does not get the proper amount of water it needs for cooling. Taking the time to identify the intake ports and confirming water is flowing through your engine will save you a headache as well as money by avoiding costly repairs.
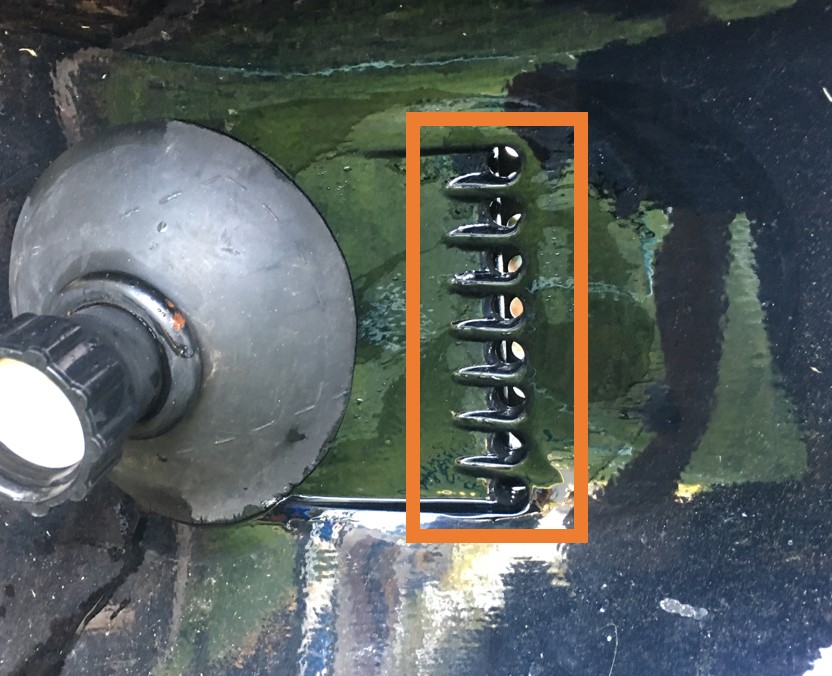
1. Identify the Water Intake Ports
All outboard units have a water intake passage to receive the water that is pumped to the engine for cooling. In the picture below, the water intake passage on this particular unit is outlined with the orange square. There are a series of holes that accept water into the unit. These water intake holes are what the muffs will be covering.
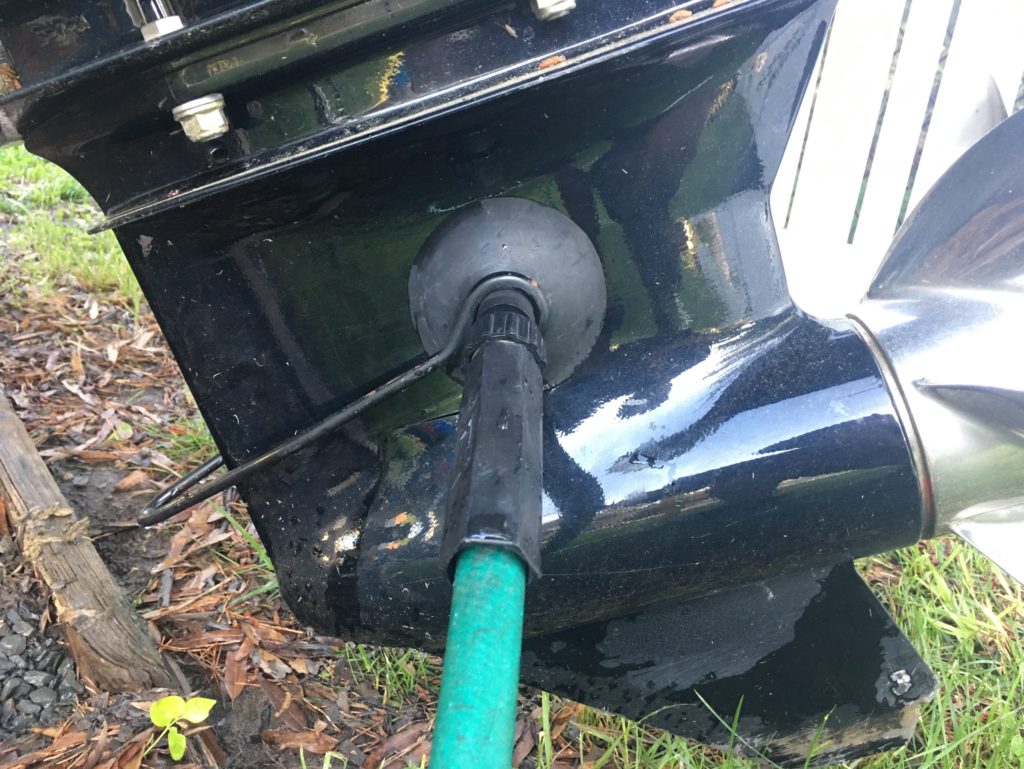
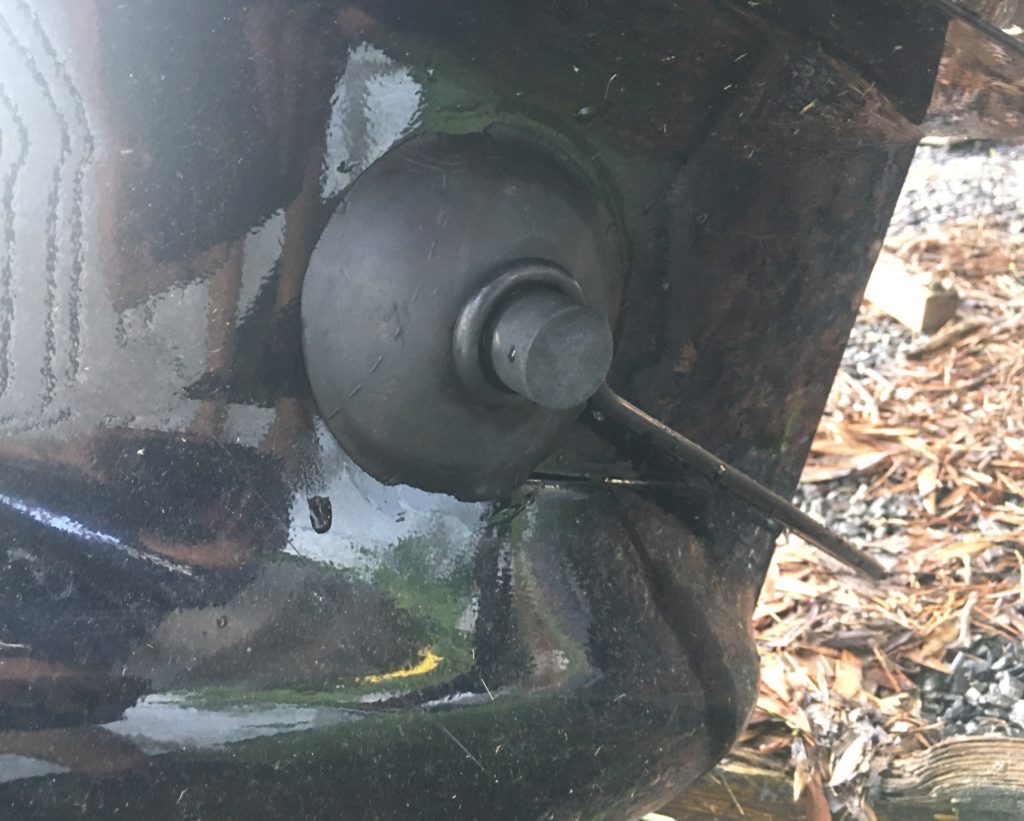
2. Fully Install the Muffs in the Proper Location
It’s important to note there are holes located on each side of the outboard housing. When installing the muffs they will need to cover the intake holes on each side. Once positioned over the holes on each side, a water hose needs to be fastened to the side that has the threaded insert as seen below. Note the muffs cover all of the water intake holes on both sides of the lower unit. The pictures below show a motor flusher properly in position and connected to a water hose.
3. Turn on the Water Supply
Once the hose is installed and the muffs are firmly in the proper position, turn the water on to bring water through the hose to the outboard. Once water is going to the intake ports the boat can then be started. Make sure to verify the water is going to the muffs before starting the engine, this can be verified as water will be leaking out around the muffs.
4. Start the Boats Engine
At this point, once the water is turned on and running to the outboard unit, the boat can be started. Remember to only start the engine once the water is verified at the outboard itself. If there is an unexpected kink or hole in the hose, water may not reach the unit and could cause damage if overheated.
5. Confirm Water is Circulating Through the Engine
Once the engine is running you should always confirm water is exiting out of the proper ports after it circulates through the engine. This is to confirm the engine is in fact getting water through the entire cooling loop and nothing is clogging it or keeping it from transferring from the muffs to the engine.
Here’s a good video we found that describes the process straight from Shoreline Marine themselves!
Final Thoughts
Congratulations on learning how to properly hook your boat up to muffs! This is a great tool to have to perform work on your boat while it is out of the water. There are many times you’ll want to start your boats engine out of water whether it’s to warm the oil before an oil change, or winterize it before the freezing weather comes your way. Hopefully this article has given a good description of the importance of running your boat with muffs and how it’s properly done!
Smooth Sailing Marine is powered by product recommendation partnerships.
If we have helped you in your product decision or marine project, you can help us by purchasing through our links. We thank you for your support, we couldn’t be here without our awesome readers!